In the Server Assignment screen, you will have the ability to assign one or more tables to a server by following the next steps:
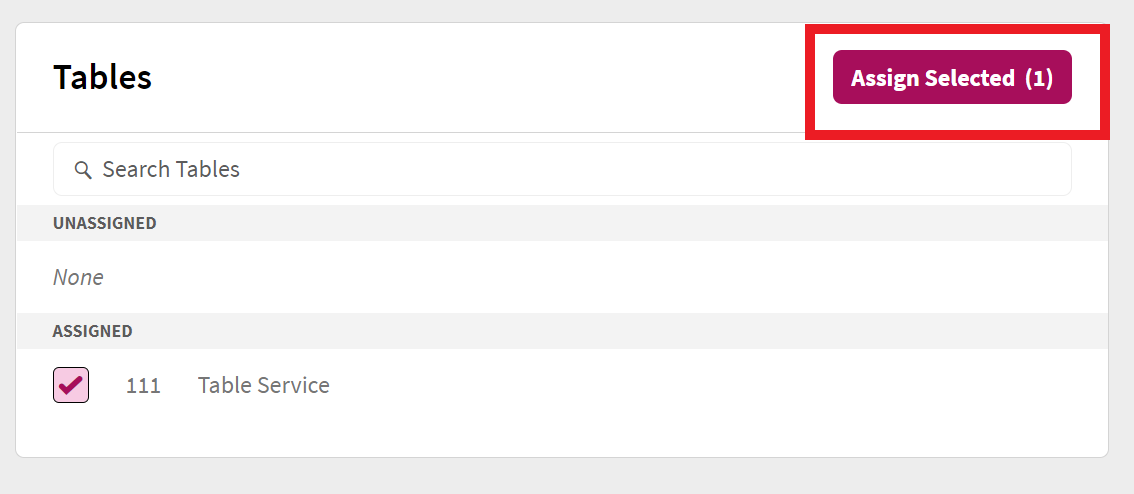
- In the left window named Tables, select all tables to be assigned to a server. Note that you can search for tables on the Search Tables field just above the list of tables.
- Click the Assign Selected button.
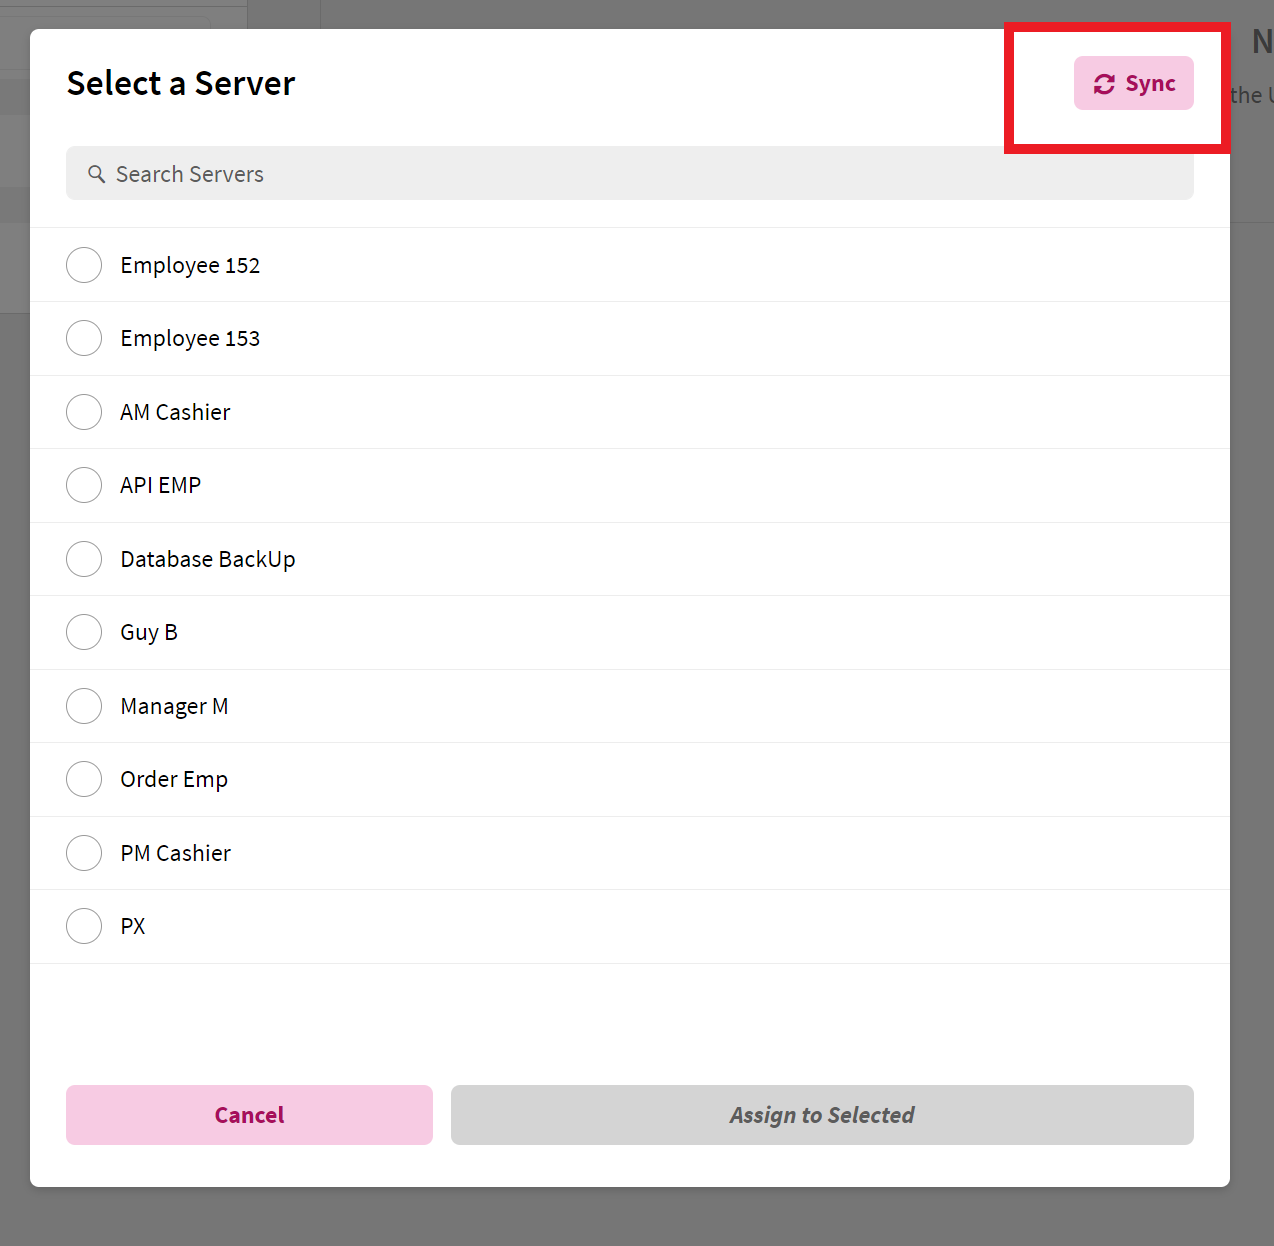
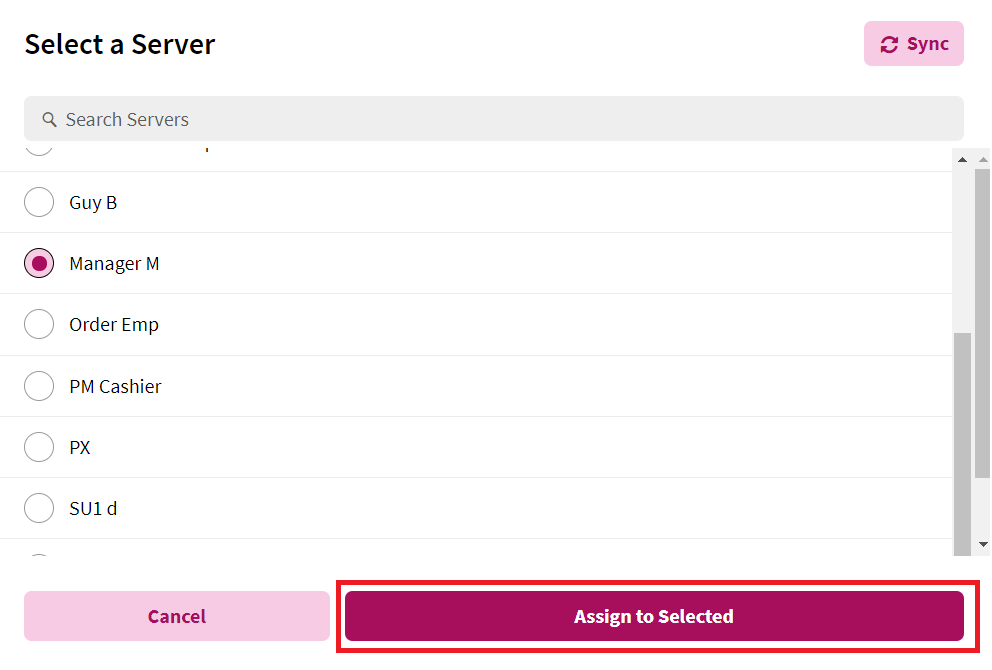
- In the new window that appears, select the server to be assigned to the table(s) in step 1. If no servers populate in the table, clicking the Sync button on the top of the window will pull the latest information from your Point of Sale.
- Clicking the Assign to Selected button will then assign the tables to the selected server, moving the table to the assigned section and creating a new window with the server's name and the table(s) assigned to the server.


