Assigning is necessary so that item groups that are not sold at that location do not appear there. If a shared menu is set on a location without that item group assigned, it will not appear on that location's menu.
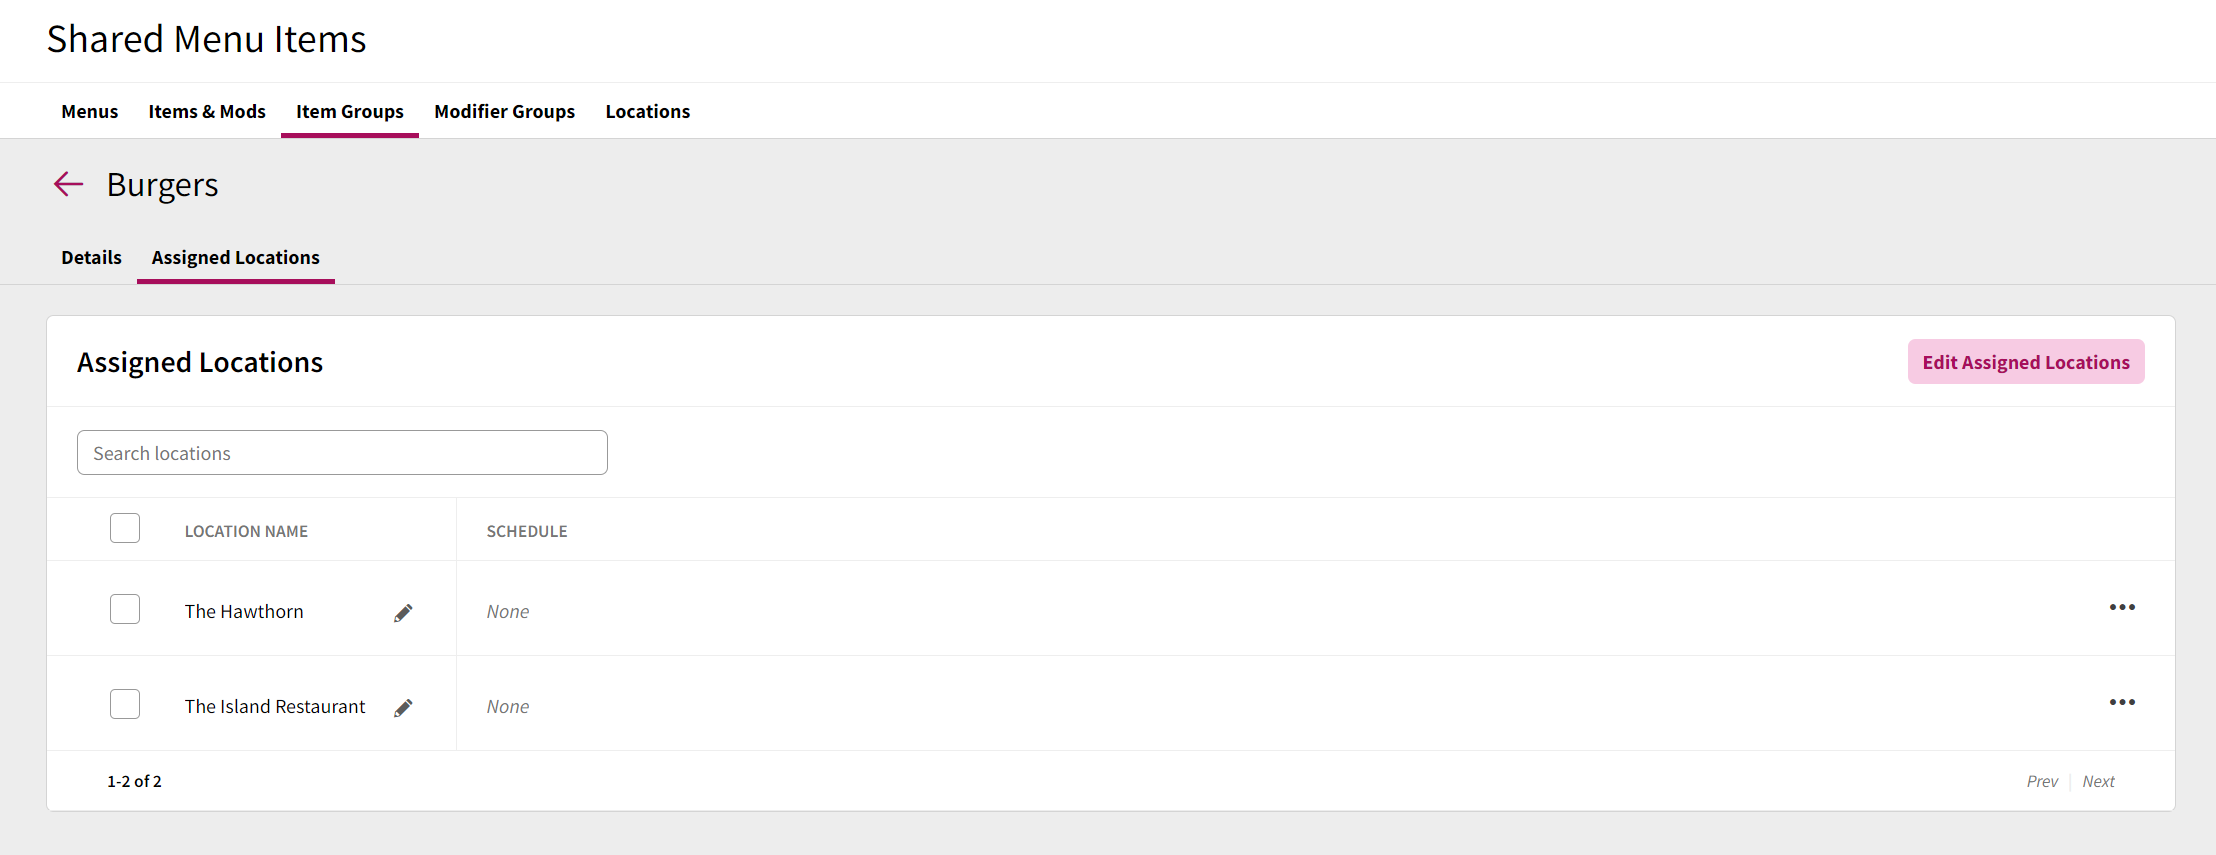
To assign the item group, open a previously created item group, and select the "Assigned locations" heading. If you have just created the item, the "Assigned Locations" heading will appear just after the item group is created 
To assign the item group to a location, select "Edit Assigned Locations" this will show a list of all locations in the company. There is the option to individually assign locations, or to assign to all locations at once.
Once the item group is assigned to a location and the changes are saved, the location will appear in the assigned locations list.
Once the item is assigned to the correct locations, you can now adjust the location-specific information. This is information that can quite often vary between specific locations.
Editing a single location's information
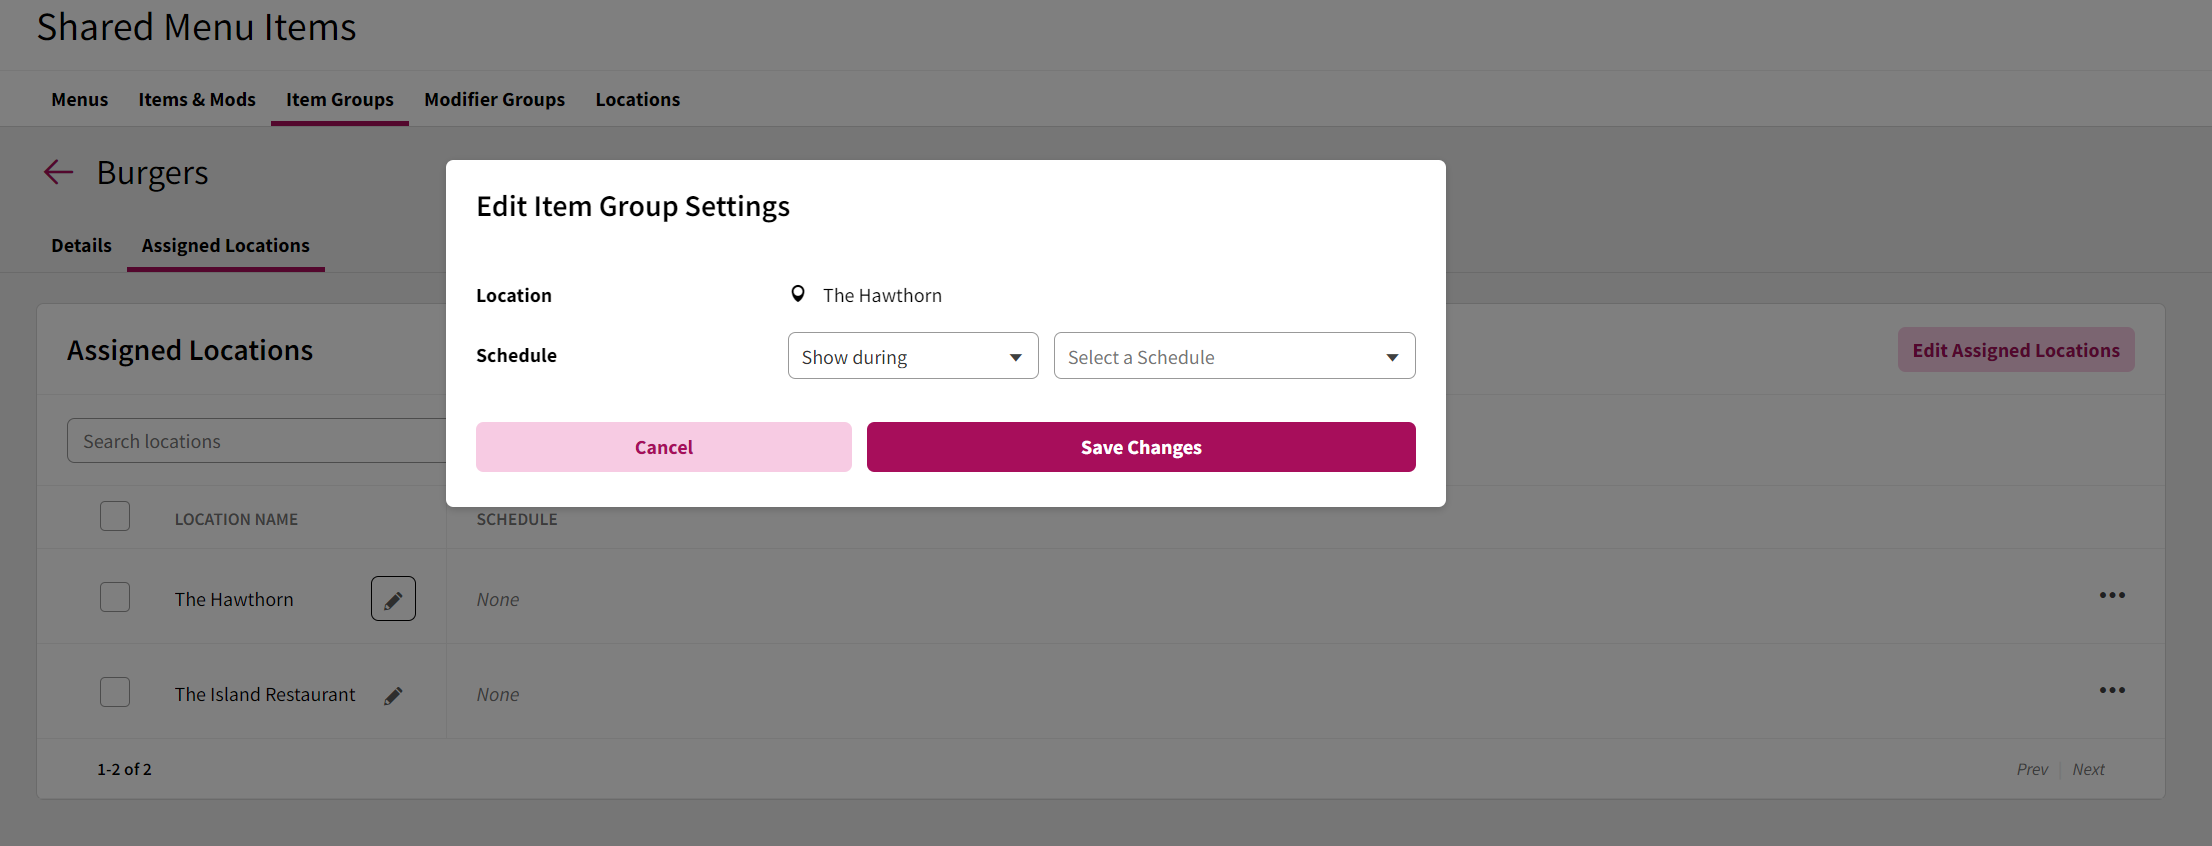
To adjust the POS specific information, click the pencil icon on the right hand side of the location and the edit box will appear

The following fields can be edited in this window
Schedule
The schedule setting allows you do assign the item to either show or hide during one or more schedules (for more information on creating schedules, please refer to the Schedules documentation).
Editing several location's information
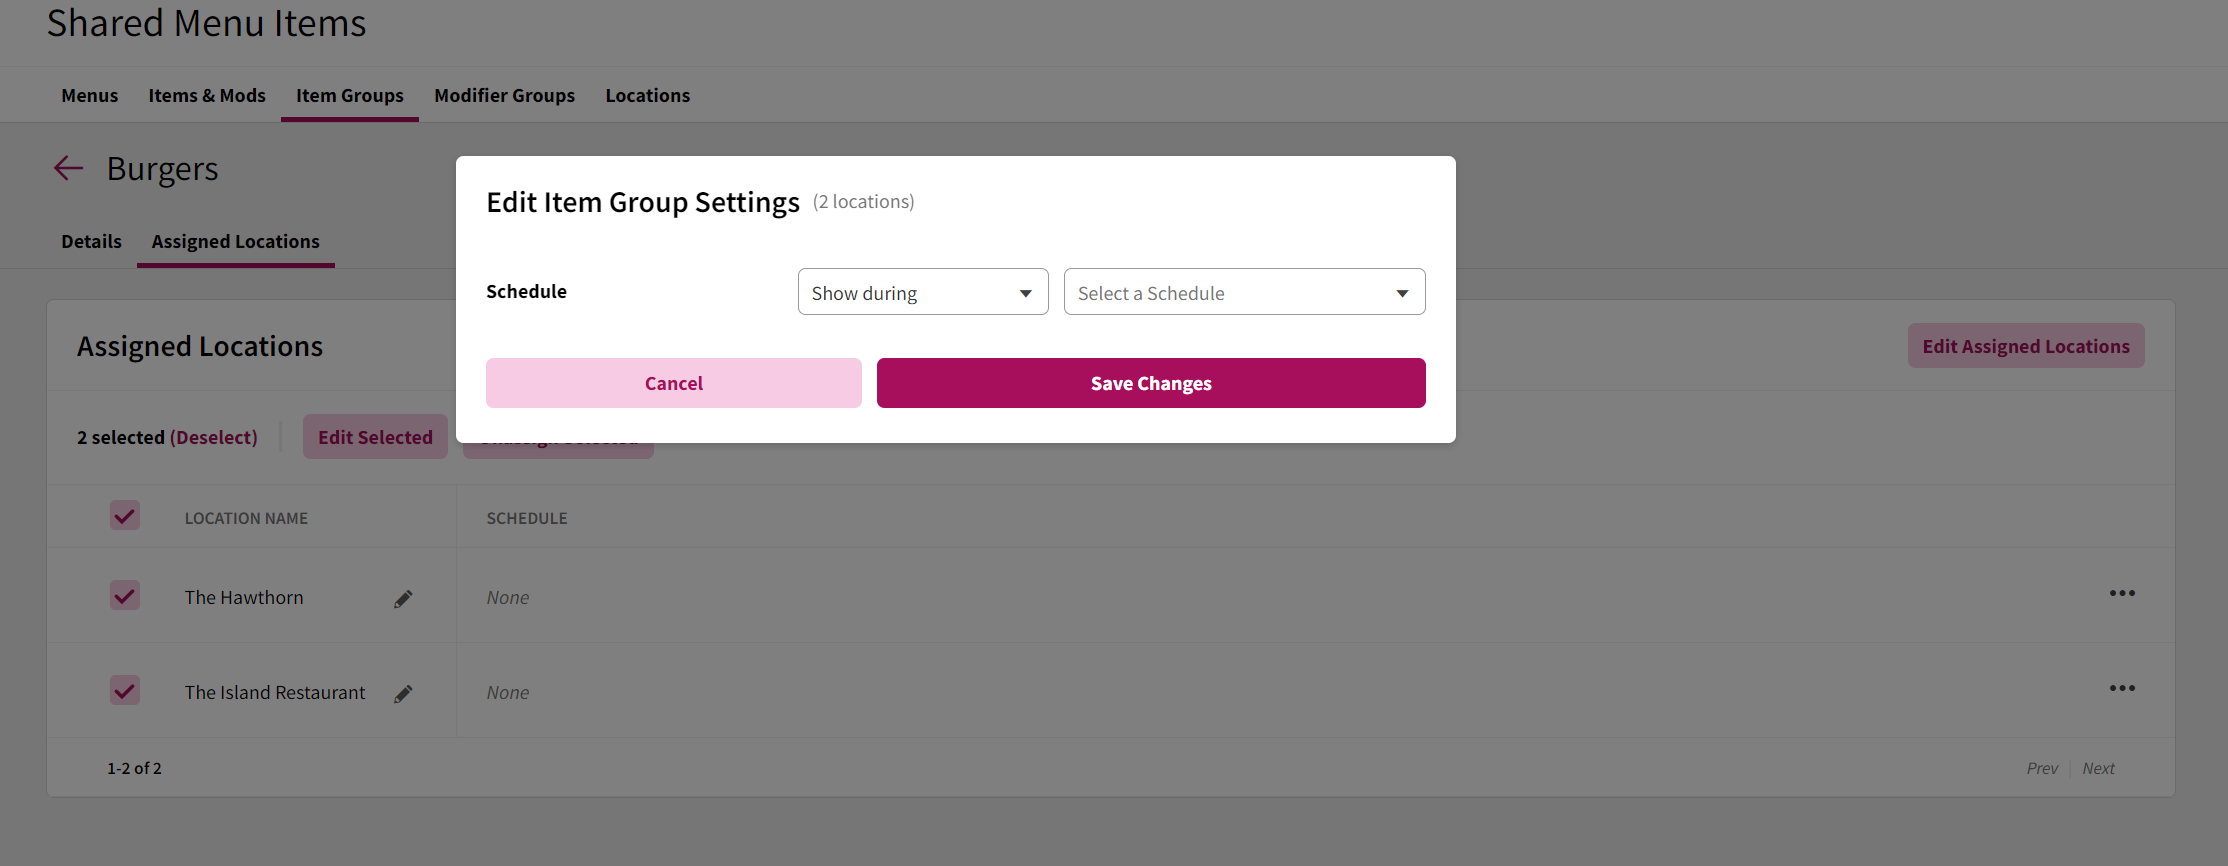
To edit several location's information, select the box on the left hand side of the location name, and select "Edit Selected"
To edit fields, select the tick box next to the field you want to edit. If you enable the "Schedule" editing, but leave the field blank, it will remove all effective date information on all locations that were selected.

