Shared Menus: Creating a shared item group
What is an item group?
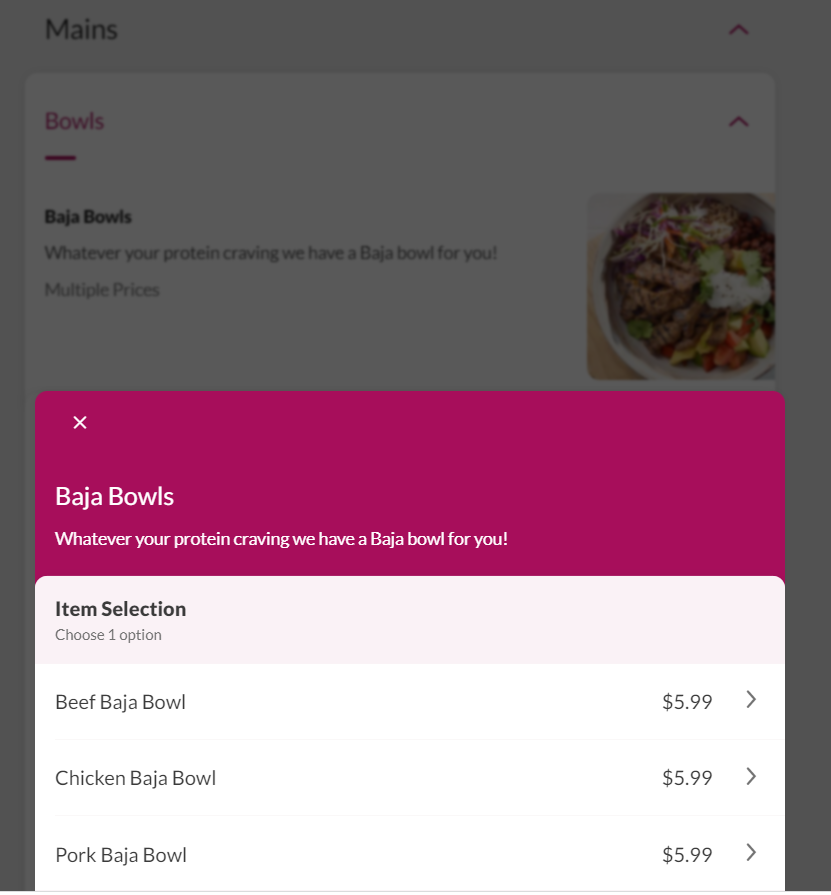
An item group is for collecting similar items. For example, if you create an item group for "Baja bowls" with a selection of bowl options inside it, the baja bowl heading will appear on the menu. When a customer selects the baja bowl, it will show the list of options.

Creating a shared item group
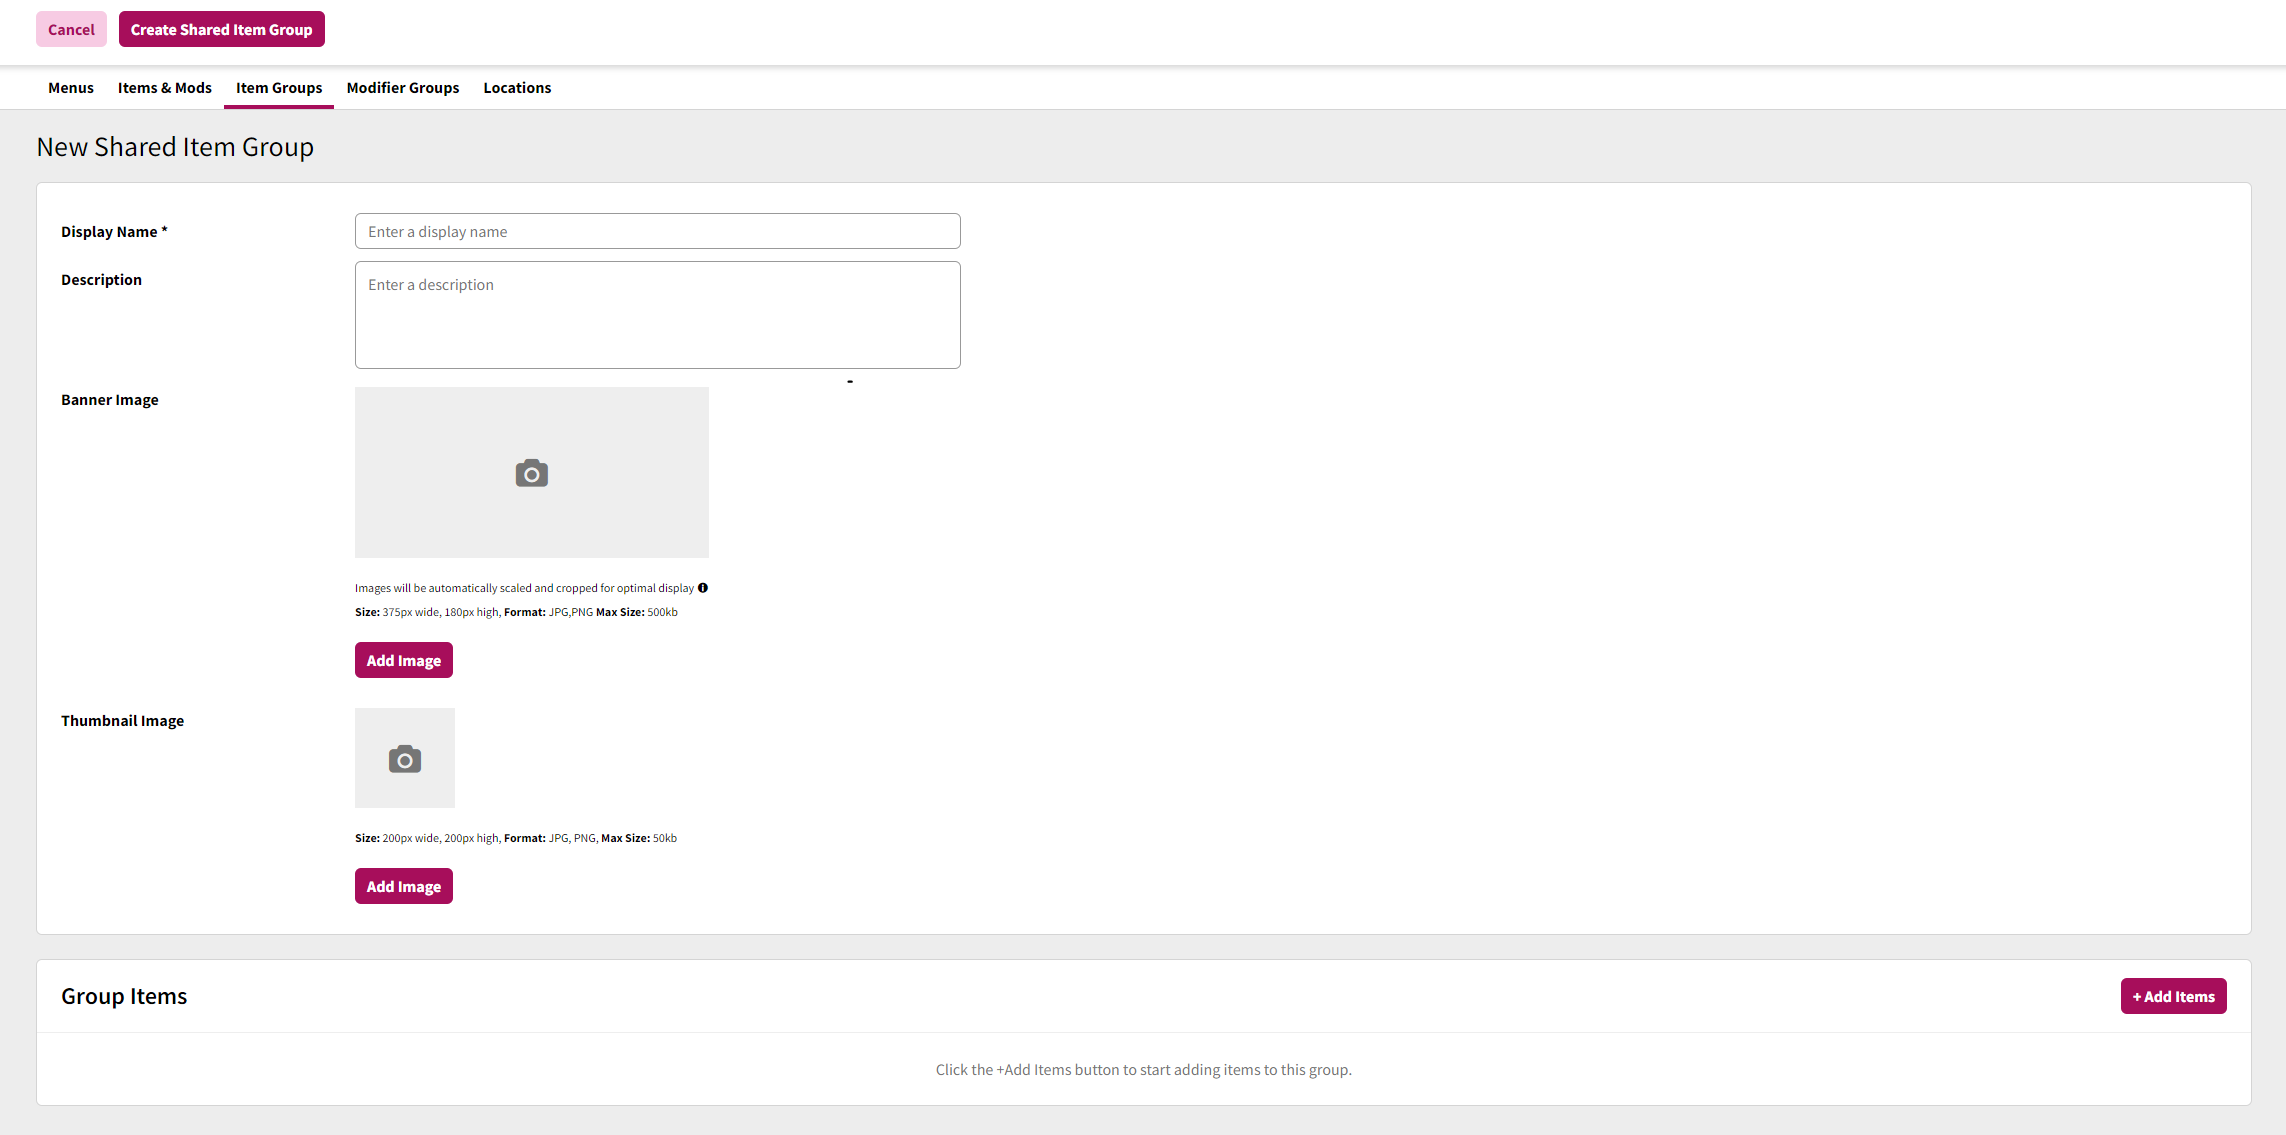
To create a shared item group, navigate to the menu builder. Select the "Item Groups" heading. Select "+ New Item group". After inputting the information and saving changes, the modifier group will be created.


Details
The modifier details panel contains the basic information regarding the item
When editing any of these fields, the Save Changes button will reveal itself at the top of the page. Click this button to save any changes made, or click Cancel to revert the changes.
Below are all the fields that can be adjusted on the company level on a shared modifier
Display Name:
This is the name of the item group which will show to guests when viewing your menu(s).
Description:
This is a description of the item group which will show to guests when viewing your menu(s).
Group Items
The Group Items section allows you to manage the items that are present on the item group. To begin adding items, select the "+Add Items" button, and add all the desired items inside the group. Save Changes to close the item adding popup and add the items to the group.
Adding / Updating Image Assets
To add or update a header or thumbnail image, click the Add Image (if no image currently exists) or Change Image button. This will bring up the file browser where you can locate and select the image for upload. Once uploaded the image will appear on screen. Click Save Changes to save the images to the item group, or click Cancel to undo the changes.
Deleting Image Assets
To delete a header or thumbnail image, click the Remove button, then click Save Changes to confirm the removal or click Cancel to undo the removal.
Assigning an item group
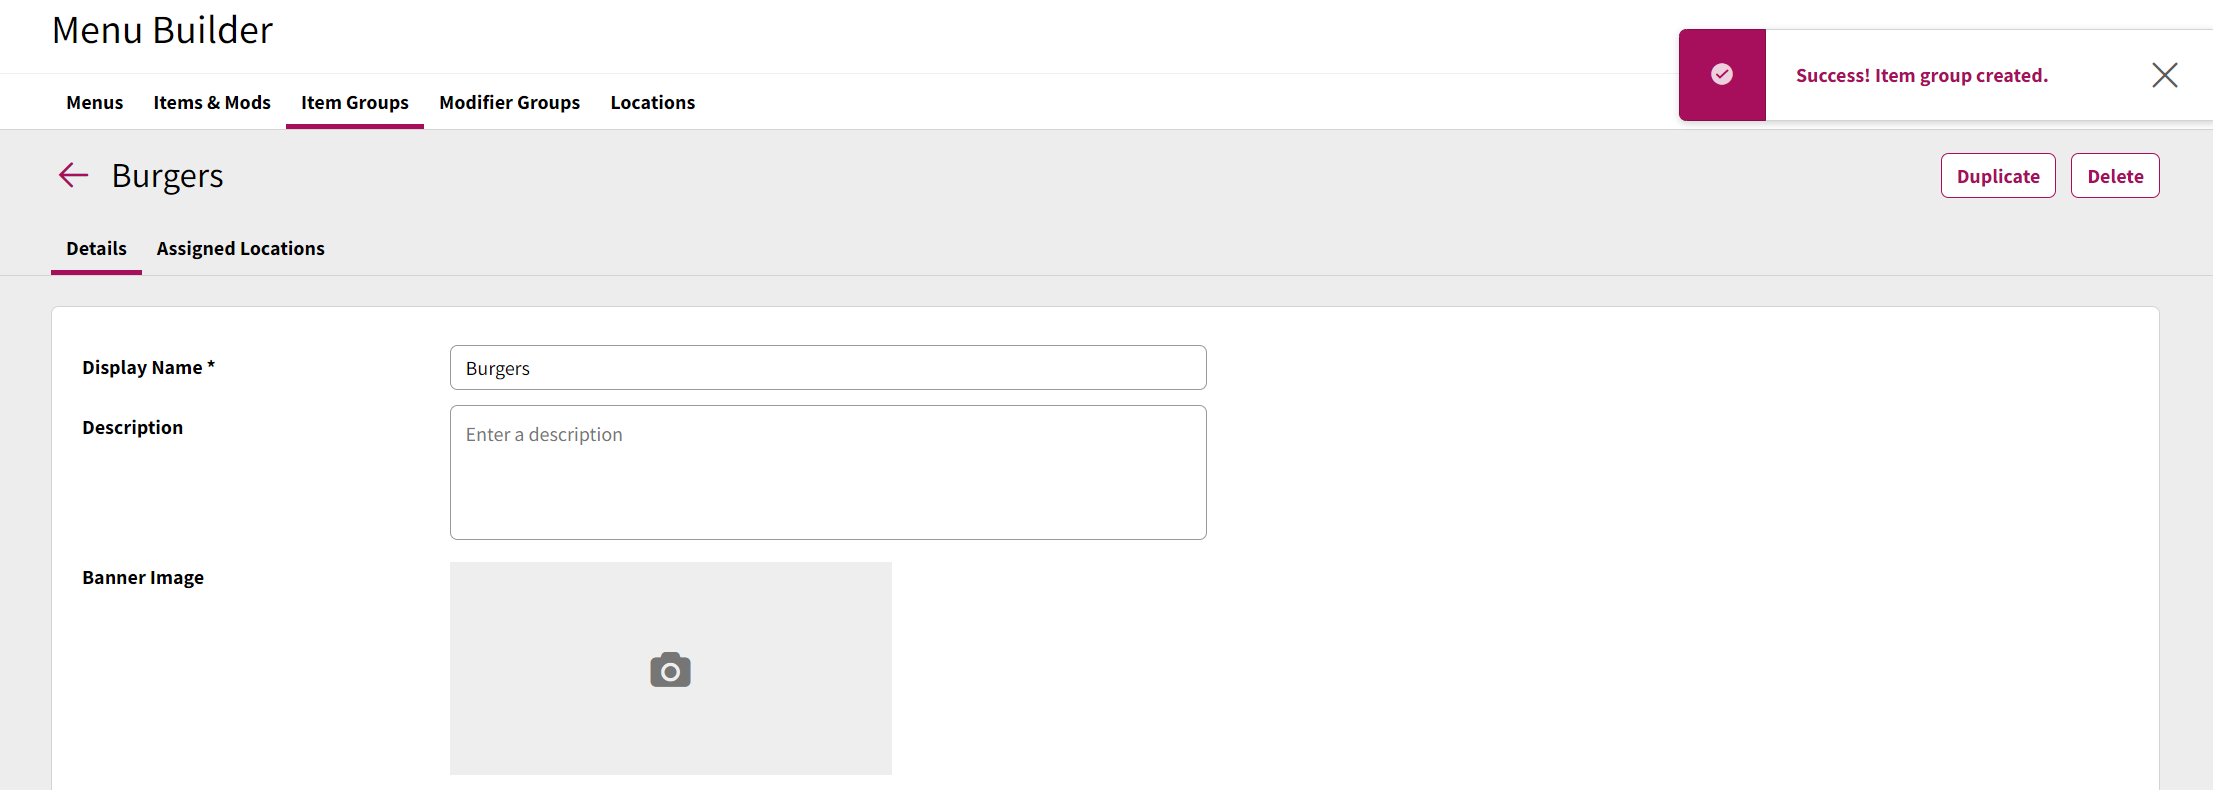
After creating an item group, the item edit screen will be shown. From here you can assign the item to locations. We advise assigning items immediately after creating them. For more information on assigning items, see Assigning a shared item group
