This article outlines manual management of tables in the Ready Dashboard, which currently only applies to locations using Square POS. If your location is not using Square POS, please refer to Syncing Tables from Point of Sale for details on table management via POS syncing.
Introduction
For locations using a POS that does not currently support syncing of tables from the POS, the Location Settings page allows you to manually manage the tables for the location.
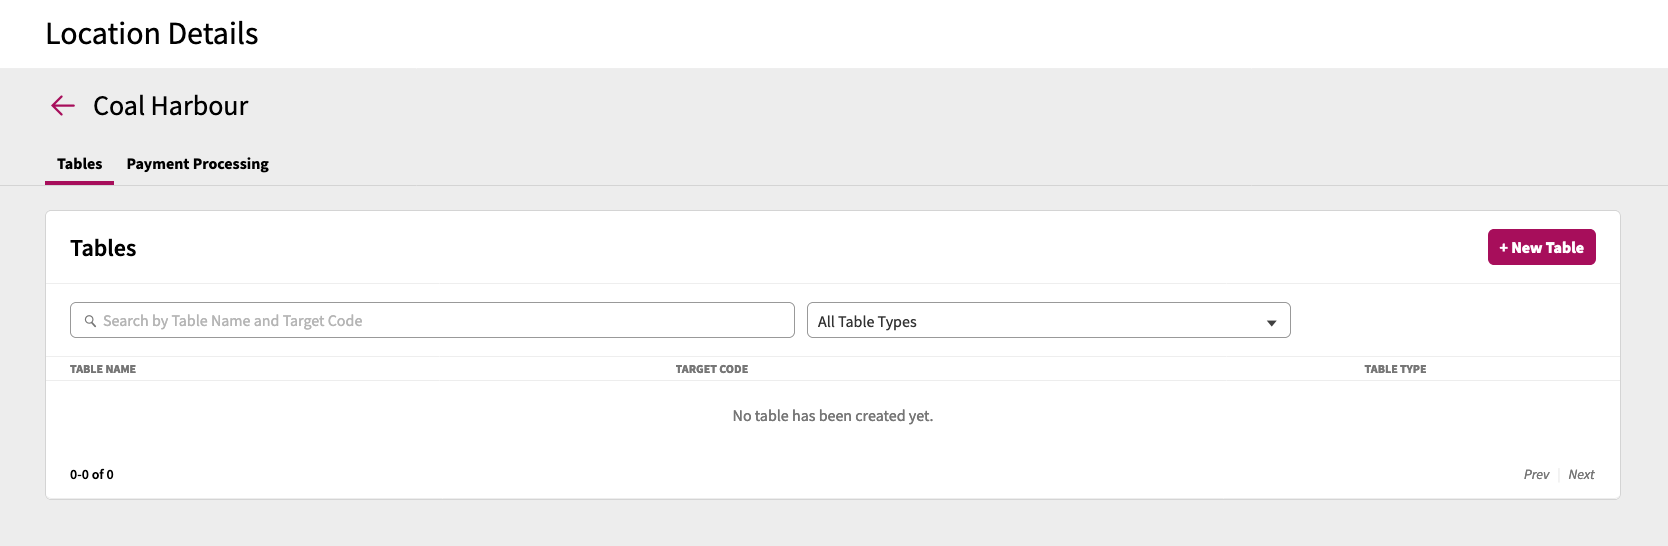
When your location does not support automatic table syncing from the POS, the Sync button that usually shows in the Table Mapping screen is replaced with an + New Table button.
Manual Table Management Screen - No Tables
Manual Table Management Screen - Tables Configured
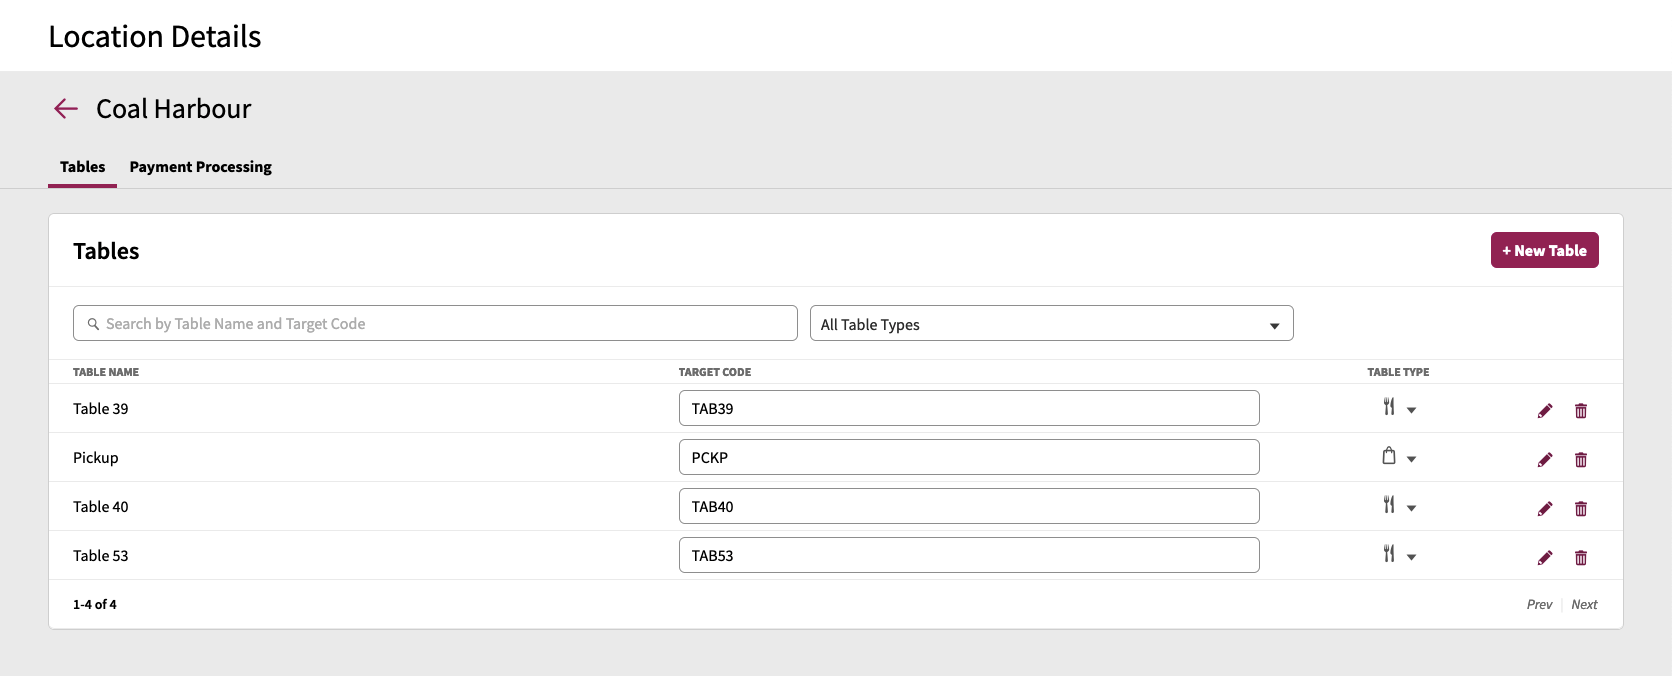
Managing Tables
Add New Table
To add a new table:
- Click + New Table
- In the New Table window that appears, you'll have three settings to set for the table:
- Table Name
- This is the name of the table, and is mandatory to set in order to create the table.
- Target Code
- This is the QR/NFC target code to assign to the table. This field is optional, and can be left unset if you have not yet received your table target pack.
- Table Type
- This defines the table type. See Assigning Table Types to Tables for more information on table types.
- Click Create Table
- Table Name
Edit Existing Table
If you are editing the Table Type or Target Code for a table, you can edit the setting directly in the Tables screen.
If you need to change the table name:
- Click the pencil icon for the table row
- In the Edit Table window that appears, you can change the Table Name as well as the Target Code and Table Type
- Click Save Changes
Delete Table
To delete a table:
- Click the trash icon for the table row
- Click Delete table to confirm deletion