Shared Menus: Creating a shared item
Creating a shared item
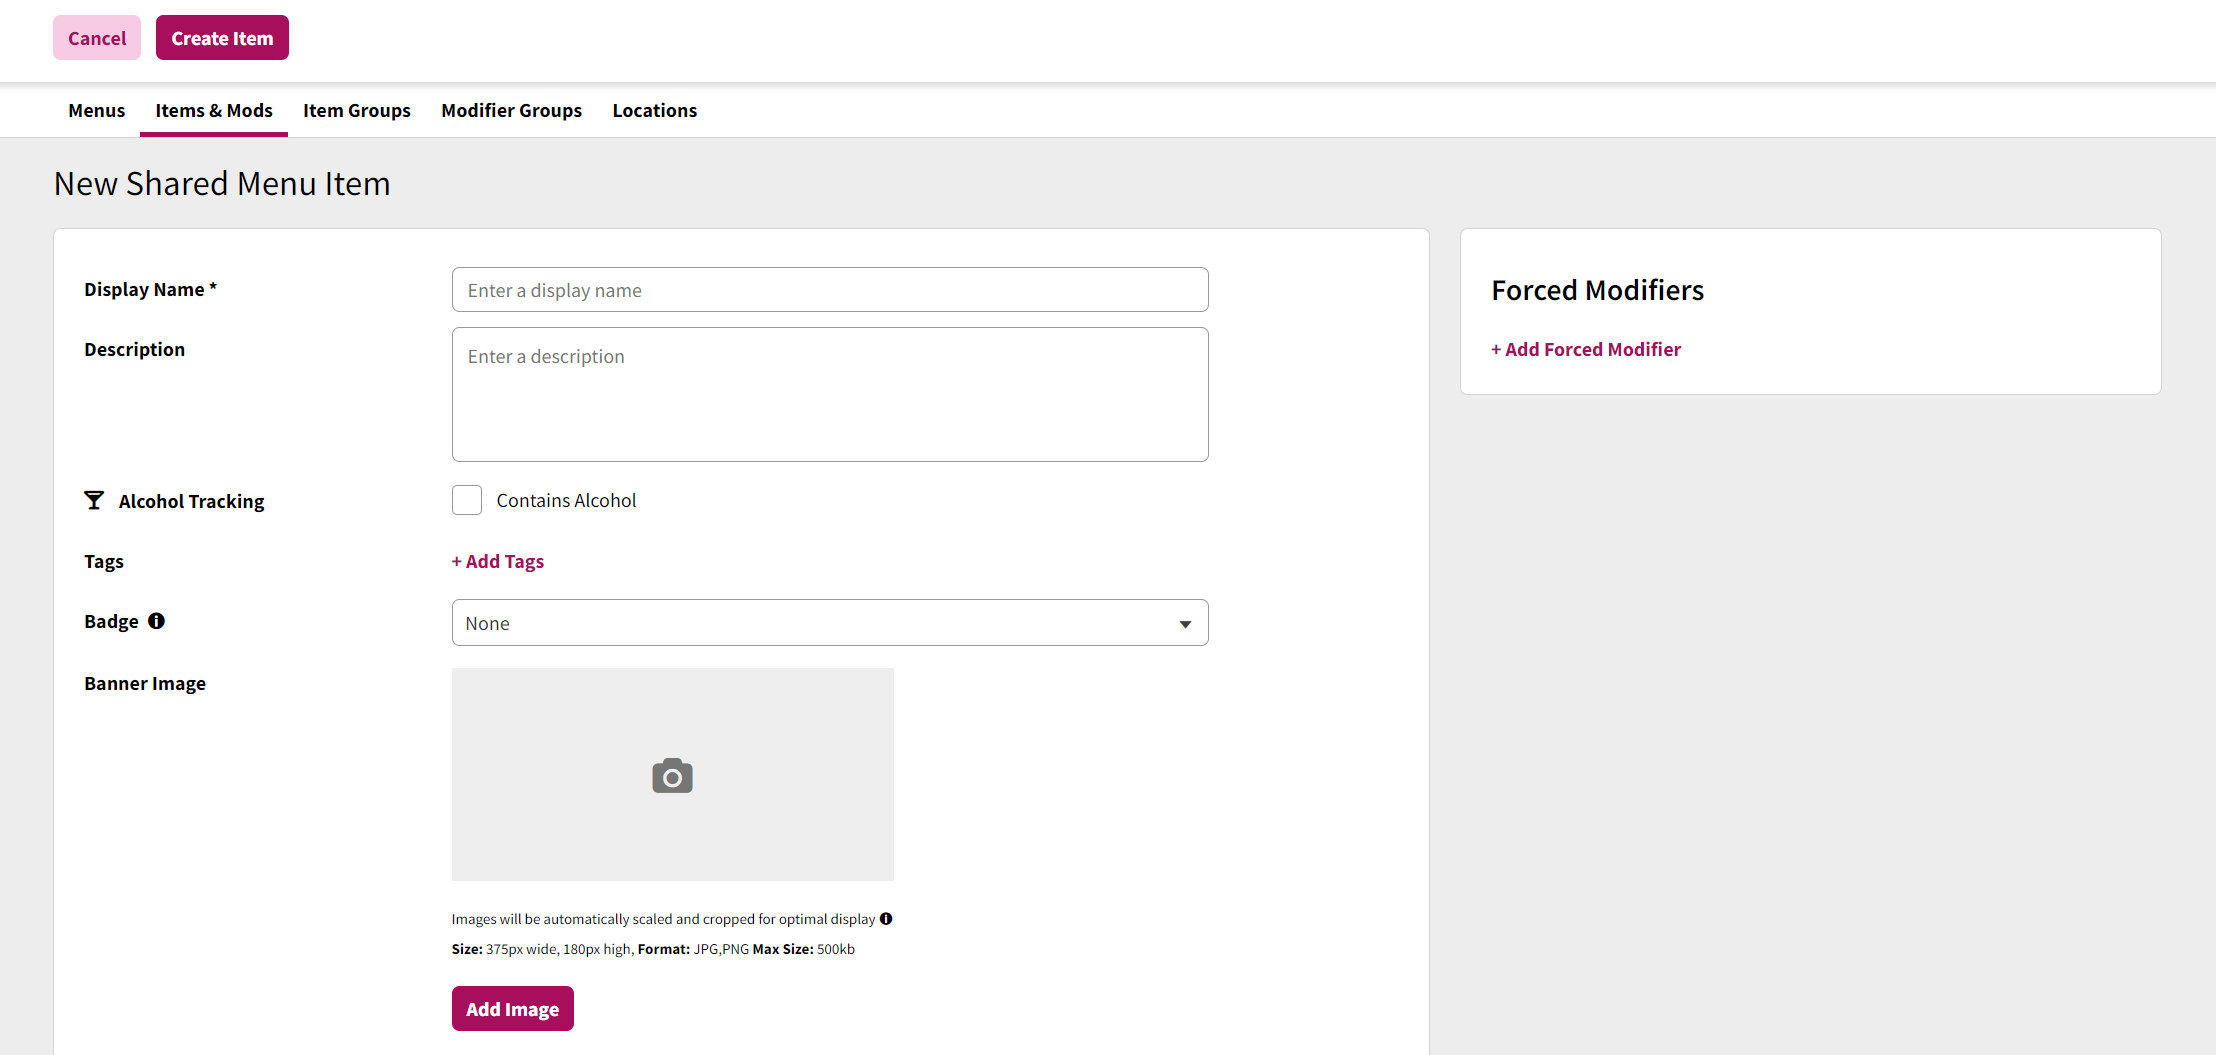
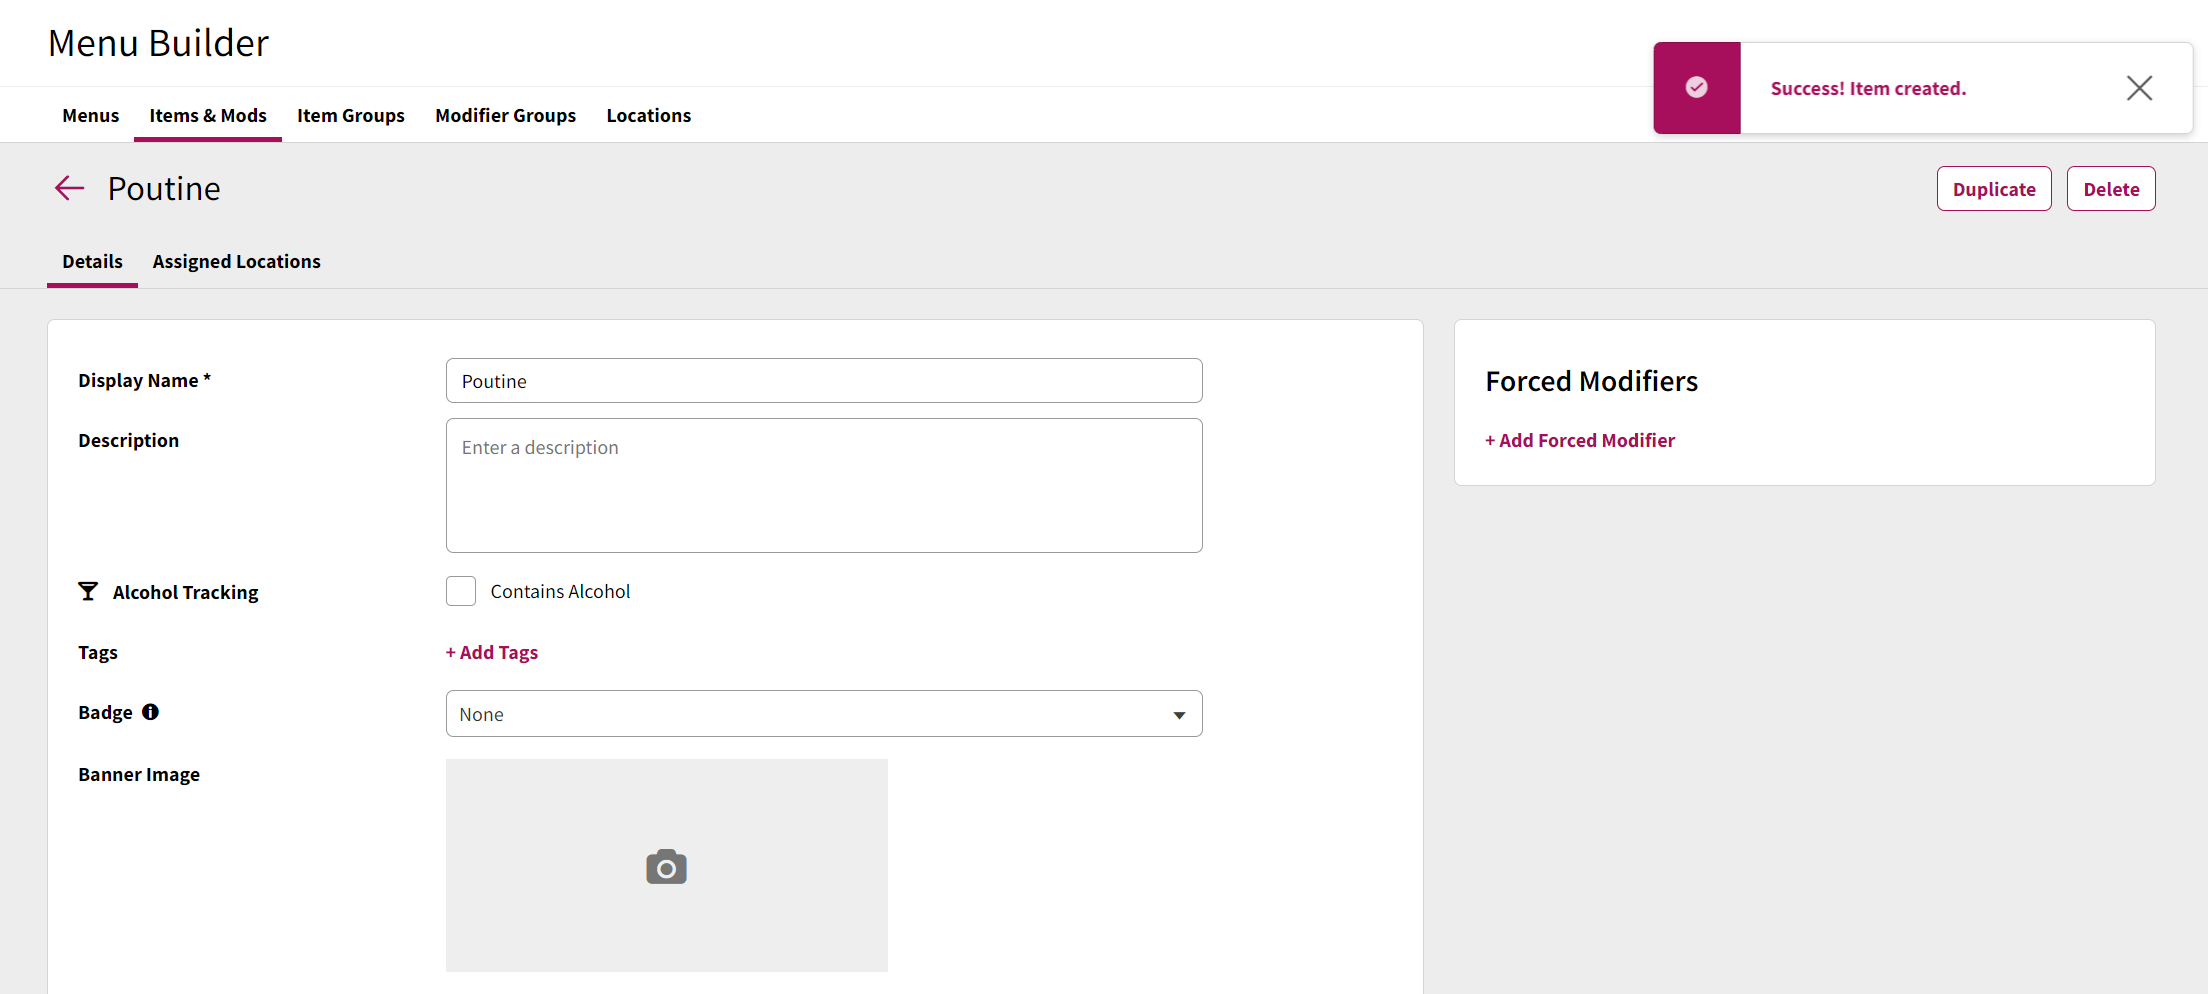
To create a shared item, navigate to the shared menus. Select the "Items & Mods" heading. Select "New Shared Item" and select "New Shared Item". After inputting the information and saving changes, the item will be created.


Item Details
The item details panel contains the basic information regarding the item.
When editing any of these fields, the Save Changes button will reveal itself at the top of the page. Click this button to save any changes made, or click Cancel to revert the changes.
Below are all the fields that can be adjusted on the company level on a shared menu item
Display Name
As names of many items from the POS are not likely the name you wish to display to your guests, the Display Name will allow you to set the name of the item to be displayed to guests viewing the item on your menu(s) on their devices.
Description
This field will allow you to enter a description for your item which will be visible to guests viewing your menu(s) on their devices.
Popular Item
This option allows you to include the item in the list of popular items. The popular items lists allows you to showcase your most popular items by having this list show to guests during their order creation, and allows for a quick way for the guest to add a popular item to their order.
Schedule
The schedule setting allows you do assign the item to either show or hide during one or more schedules (for more information on creating schedules, please refer to the Schedules documentation).
Alcohol Tracking
If the item has alcohol content, this setting allows you to indicate the item is an alcoholic item and also allows you to identify the measurement of alcohol in the item (measured in number of standard drinks). The measurement is used when a location has a max number of drinks per order limit set.
Tags
Tags allow you to add classifications to your menu item (like Vegan, Gluten Free, etc.) which guests can see when viewing your menu and can filter on. Tags are configured for the company in the Tags & Badges screen (for more information on creating tags, please refer to the Tags & Badges documentation). Items can have multiple tags associated to it.
Badges
Badges allow you to add a stylized visual element to your item (like New, Staff Faves, etc.) which guests can see when viewing your menu and can filter on. Badges are configured for the company in the Tags & Badges screen (for more information on creating badges, please refer to the Tags & Badges documentation). Items are limited to one badge assigned to it at a time.
Modifier Groups
To add a modifier group to the item, click the + Modifier Group button. This will bring up an Add Modifier Groups window which will allow you to view and select modifier group(s) to add to the item based on your currently created modifier groups. To add a group, click the Add button (groups can also be removed by clicking the Remove button). Once all modifier group(s) have been selected, click the Done button to return to the main item details screen.
When editing any assigned modifier groups, the Save Changes button will reveal itself at the top of the page. Click this button to save any changes made, or click Cancel to revert the changes.
Nested Modifiers Note: A nested modifier is when a modifier group contains another modifier group. Shared menus allows nested modifiers to be created, however, it is not supported by all POS systems. Please see our Supported POS Features guide to see if your POS supports this. If a nested modifier is assigned to a location that has a POS that does not support nested modifiers, it will not sync to locations correctly.
For more information on nested modifiers, see our nested modifier help file
Forced Modifiers
For restaurants that use granular modifiers that are applied to all orders of select items to provide a breakdown of ingredients to the kitchen (for example, a Chocolate Banana smoothie item having modifiers forced on the item such as Bananas, Chocolate Syrup), forced modifiers allow you to associate modifiers from your POS to an item which will be auto-applied to all orders of the item.
Forced Modifiers:
- do not show to guests when ordering items
- must all be in stock in the POS in order for the item to be orderable (in the event one or more forced modifiers are not in stock in the POS, the item will appear sold out to guests)
- can either be $0 or non-$0 modifiers - in the event that a forced modifier has a price associated, the price of the modifier(s) will be included in the item price to guests
To link modifiers as a forced modifier to an item:
- Click either the + Add Forced Modifiers (for items with no existing forced mods) or the Edit Forced Modifiers (for items with existing forced mods) link in the Forced Modifiers section of the item details
- The Forced Modifiers modal will appear. Using the provided search bar, you can search for the appropriate modifiers to associate to the item
- Forced modifiers can also be removed from this
- Click Done
- Click Save Changes
In the event one or more modifiers associated as a forced modifier to an item are deleted, the item will not be visible to guests for ordering until a correction or confirmation is made. When this occurs, the item will show a warning banner in the item details noting there is a configuration issue with the item. In the event this occurs, please check the list of forced modifiers associated to the item to confirm if the listing is accurate. If the listing is accurate (the modifier which was deleted from the POS was intentional), you can click the Re-enable Item button to make the item available for ordering again. Otherwise, use the Edit Forced Modifiers link to adjust the forced modifiers for the item, and the item will become available for ordering again once the adjustments are made and saved.
Recommended Pairings
Recommended pairings allows you to identify other menu items that pair well with a specific item. These recommended pairings will show to guests as they add items to their order.
Adding Recommended Pairing Items
To add other items to an item's recommended pairing list:
- Click the + Add Items button in the Recommended Pairings section of the item details screen
- An Add Menu Items window will appear with a list of items. Items can be searched by using the Search menu items field.
- Click the Add button for any item(s) to be added to the recommended pairings list
- Click the Done button to return to the item details screen
- Click Save Changes at the top of the page to save the changes made
Image Assets
The image assets panel contains two different image asset upload components to add images for your items:
- Header Image
- This image is used on the item details screen when guests tap the item on your menu.
- Recommended image size is 375 pixels wide, 180 pixels high
- Recommended image type is either JPG or PNG
- Thumbnail Image
- This image is used in the menu screen (where items are listed) for your guests
- Recommended image size is 200 pixels wide, 200 pixels high
- Recommended image type is either JPG or PNG
- Image bust be 50kb or less in size
Adding / Updating Image Assets
To add or update a header or thumbnail image, click the Add Image (if no image currently exists) or Change Image button. This will bring up the file browser where you can locate and select the image for upload. Once uploaded the image will appear on screen. Click Save Changes to save the images to the item, or click Cancel to undo the changes.
Deleting Image Assets
To delete a header or thumbnail image, click the Remove button, then click Save Changes to confirm the removal or click Cancel to undo the removal.
Assigning items
After creating a shared item, it will load the edit item screen. From here you can assign the shared item to locations. For more information on how to assign items, see Assigning a shared item
